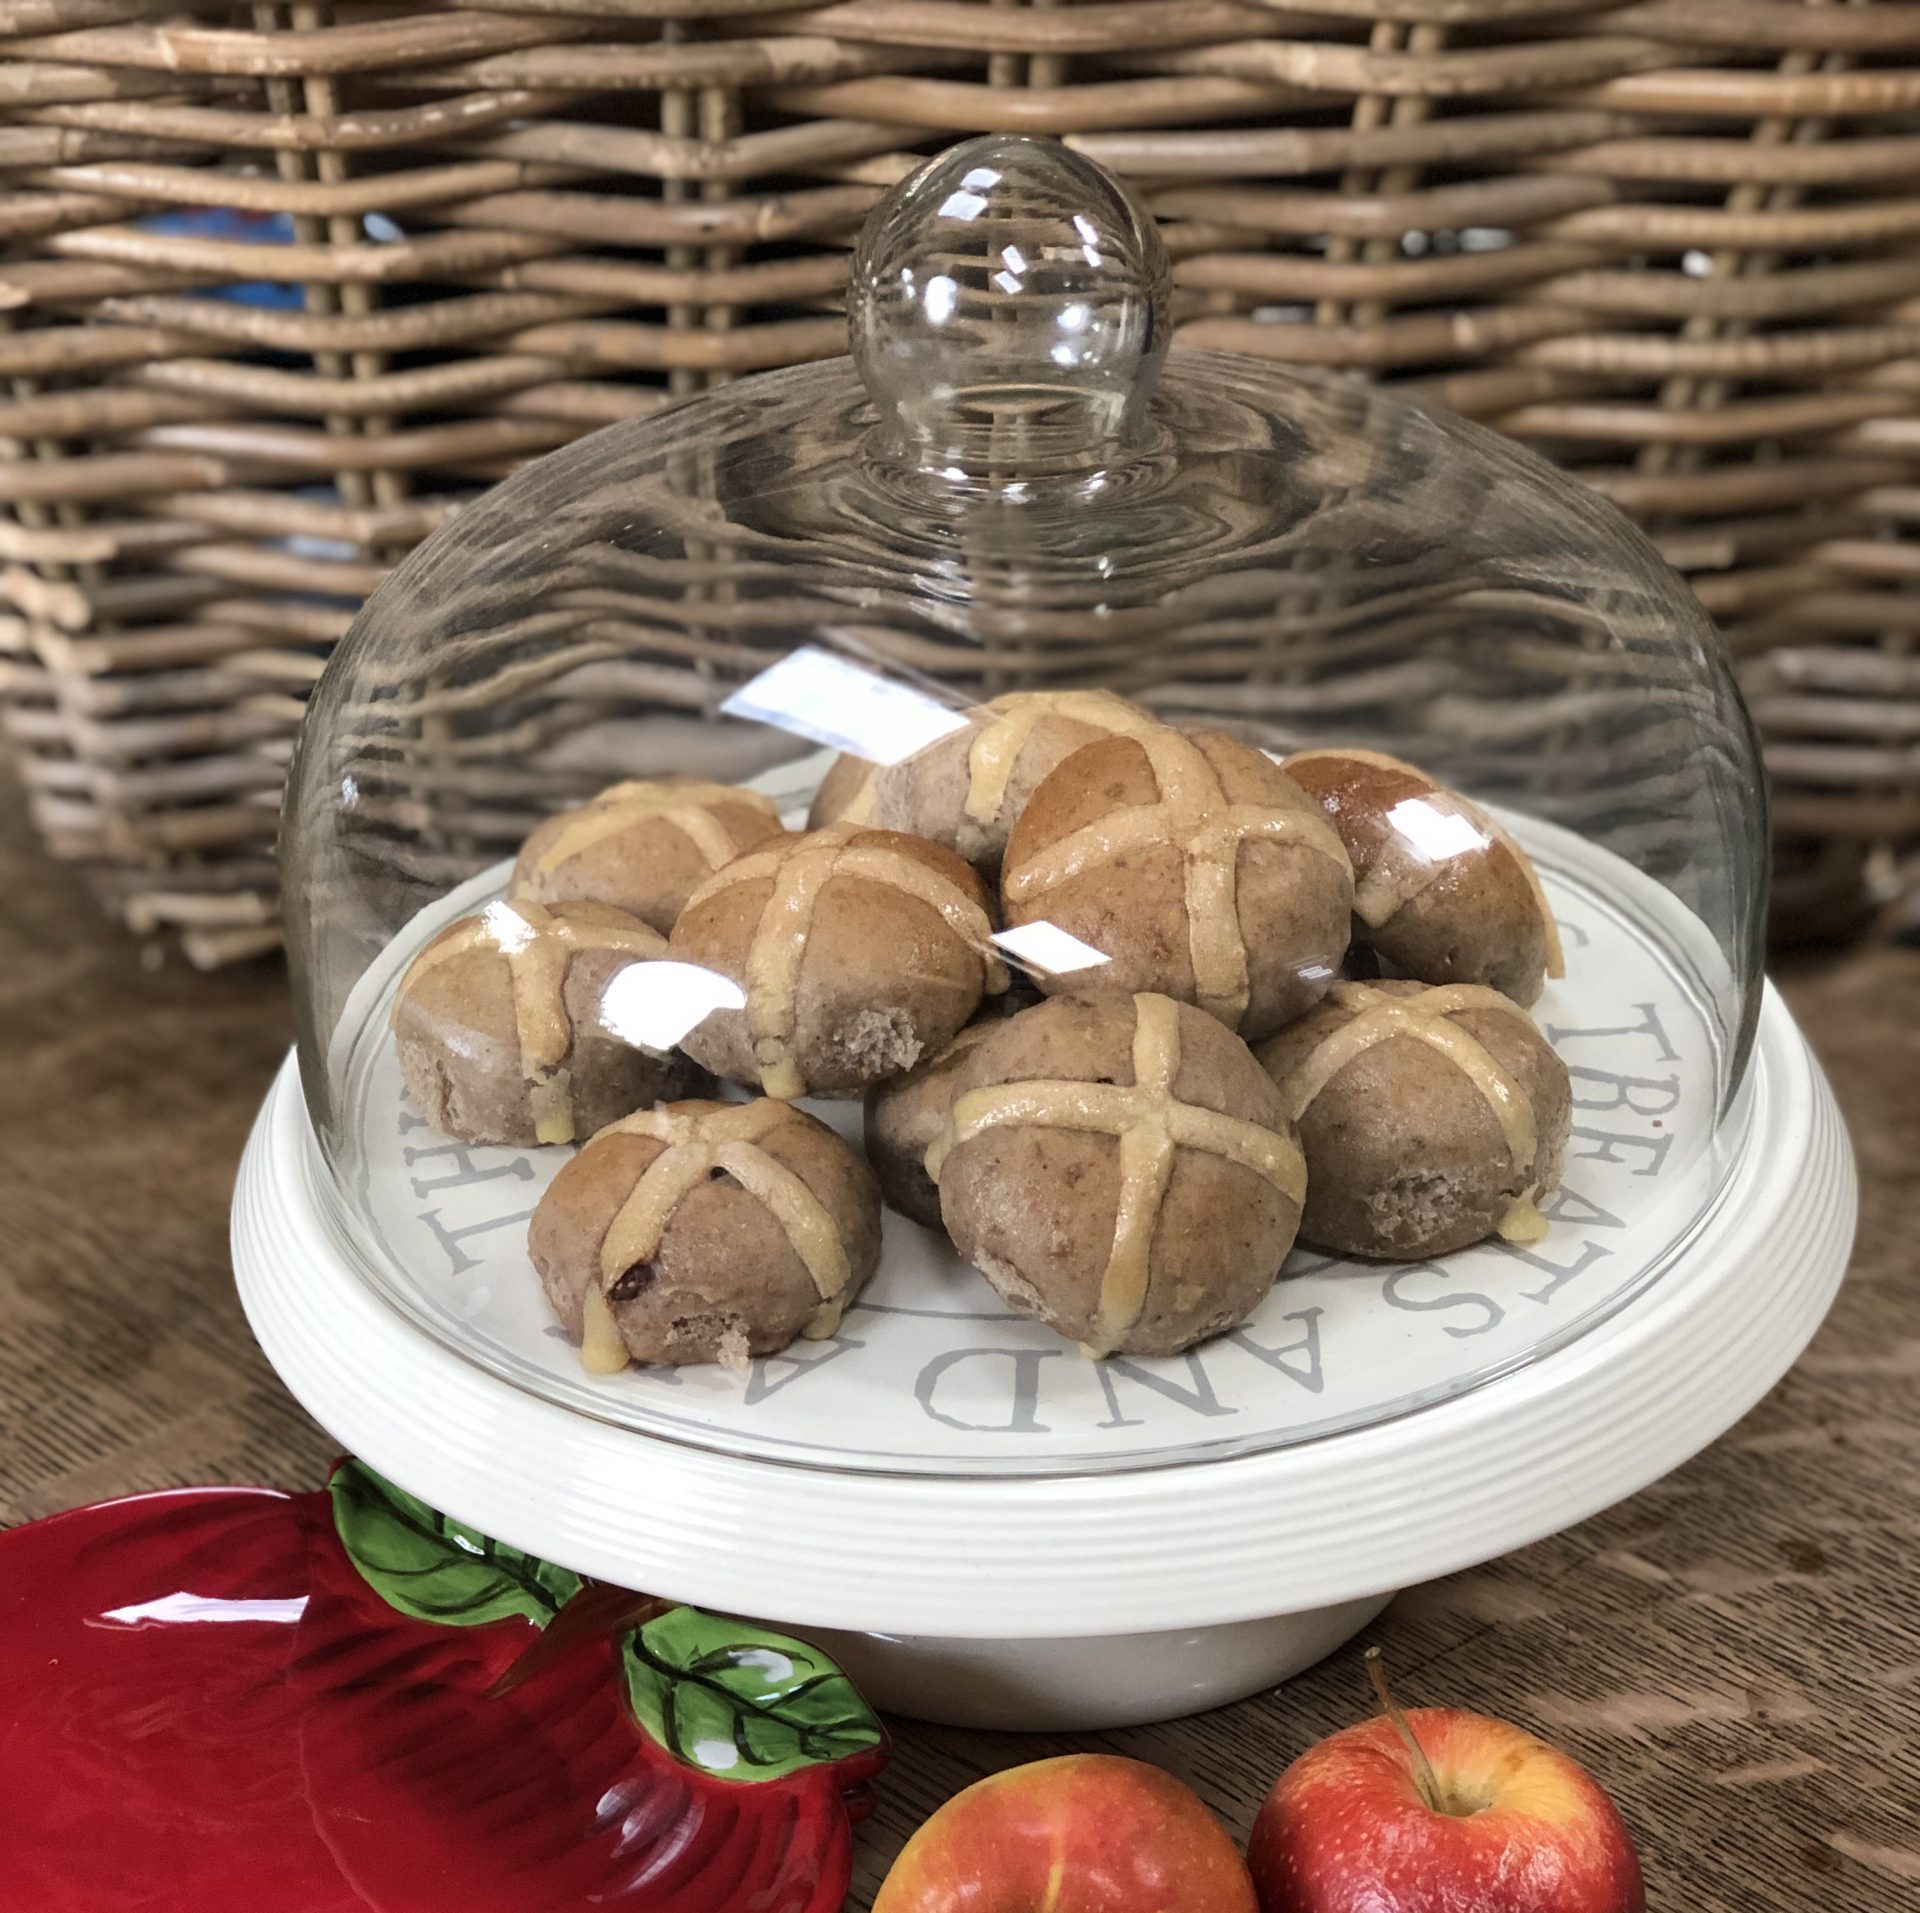
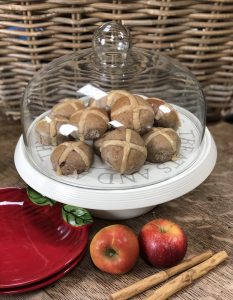
 These were so good I have to share! Most of my recipes are subsistence recipes… simple, nutritious food for staying alive. Really nothing fancy. One of my staples is sourdough bread and I experimented on this hot cross bun recipe as a way of using the “discard”. I crossed a cinnamon bun recipe with a hot cross bun recipe, swapped sultanas and orange peel for dried raspberries and grated apple and boosted the yeast with unfed sourdough starter… and it worked!!
As with my sourdough bread, I use a Kitchen Aid for kneading. It makes bread – and these buns – soooooo easy.
Ingredients and Method:
Place your large metal Kitchen Aid bowl on electric scales and measure in the ingredients in the following order
125g slightly warmed oat mylk (not hot, not cold, just warm so the starter likes it)
130g unfed sourdough starter
1 egg’s worth of vegan egg replacer (I use Free & Easy which stipulates 1 tsp replacer shaken in a small jar until combined with 2tbl water)
25g vegan butter melted
285g strong white bread flour
50g rye flour (or substitute for another 50g white)
50g khorasan flour (or substitute for another 50g white)
100g golden caster sugar
1 tsp salt
1 tsp cinnamon
1 tsp quick yeast
Fix the bowl to the Kitchen Aid base and mix to combine. Leave to sit for ten minutes after the initial mixing, then give it a good 10 minute knead using the dough hook attachment.
Add the following ingredients to the bowl
40g dried raspberries
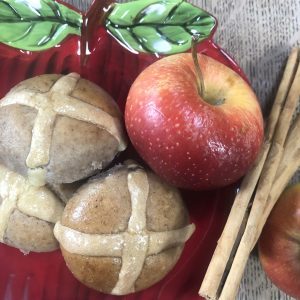
1 medium sized apple grated
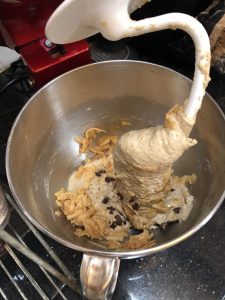 Mix until well combined. The addition of the fruit will make your dough initially very wet, but don’t worry, it will be fine.
Cover the dough with a damp cloth and a re-usable plastic cover – they look like a shower cap but are brilliant and can be used over and over to avoid single-use plastic.
Leave in a warm place for at least an hour.
Return mixture to the Kitchen Aid base and knead again for 5 minutes.
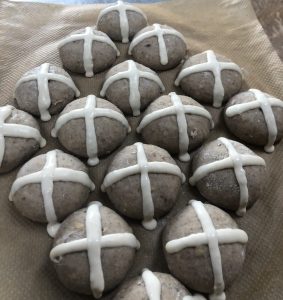
Turn dough out on to lightly floured work surface and work into 16 smallish buns, 8 large ones, or 12 if you want to go middle road… I love this dough video if you want to see how a super-baker does it!
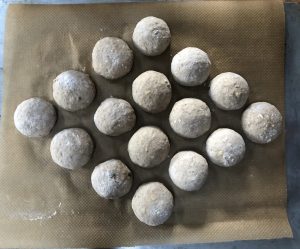 Place buns slightly separated on a piece of baking paper or bake-o-glide on a large, flat baking tray. I love them expanding and joining up so you have to tear them apart, like proper HCB’s. (The first batch I cooked were too close together, and I baked them in a ceramic dish so they had nowhere to go and came out a bit square.) If you’re making 16 small buns leave about 1 cm between each dough ball.
 Leave to rise in a warm place for a couple of hours. When nicely risen, it’s time to add the crosses on top.
Mix 4 tbl plain white flour with 4-6 tbl water to make a smooth paste.
Use a piping bag or gun to draw a cross on each bun.
Bake in a 170°C oven for 15 minutes.
While the buns are baking make a glaze by mixing 2 heaped tsp of golden caster sugar with 3 tsp water and blasting in the microwave for 20 seconds.
Take the partly baked buns from the oven after 15 minutes and brush thoroughly with the glaze. Return to oven for another 15 minutes.
When the buns look lightly golden and shiny, and feel hollow if you gently tap them, they are ready.
Serve immediately, with or without butter or vegan spread OR allow to cool on a wire rack.
Vegan sourdough hot cross buns will stay fresh in a sealed container for a few days, or can be frozen for a month and easily defrosted individually in 30 seconds in the microwave. They are also good cut in half and toasted in the toaster, or popped back in a hot oven for 5 minutes to warm before serving.
For a non-Easter variation, make exactly as described but without piping the crosses onto the buns. Take out half way through baking to glaze and decorate with a sprinkling of sugar instead. You could also experiment with different fresh and dried fruit in the same quantities. Banana and date? Carrot and dried mango…?
Experienced sourdough bakers who prefer not to use quick yeast could leave the dough overnight for a cold prove and then shape, leave to rise and bake on day two.
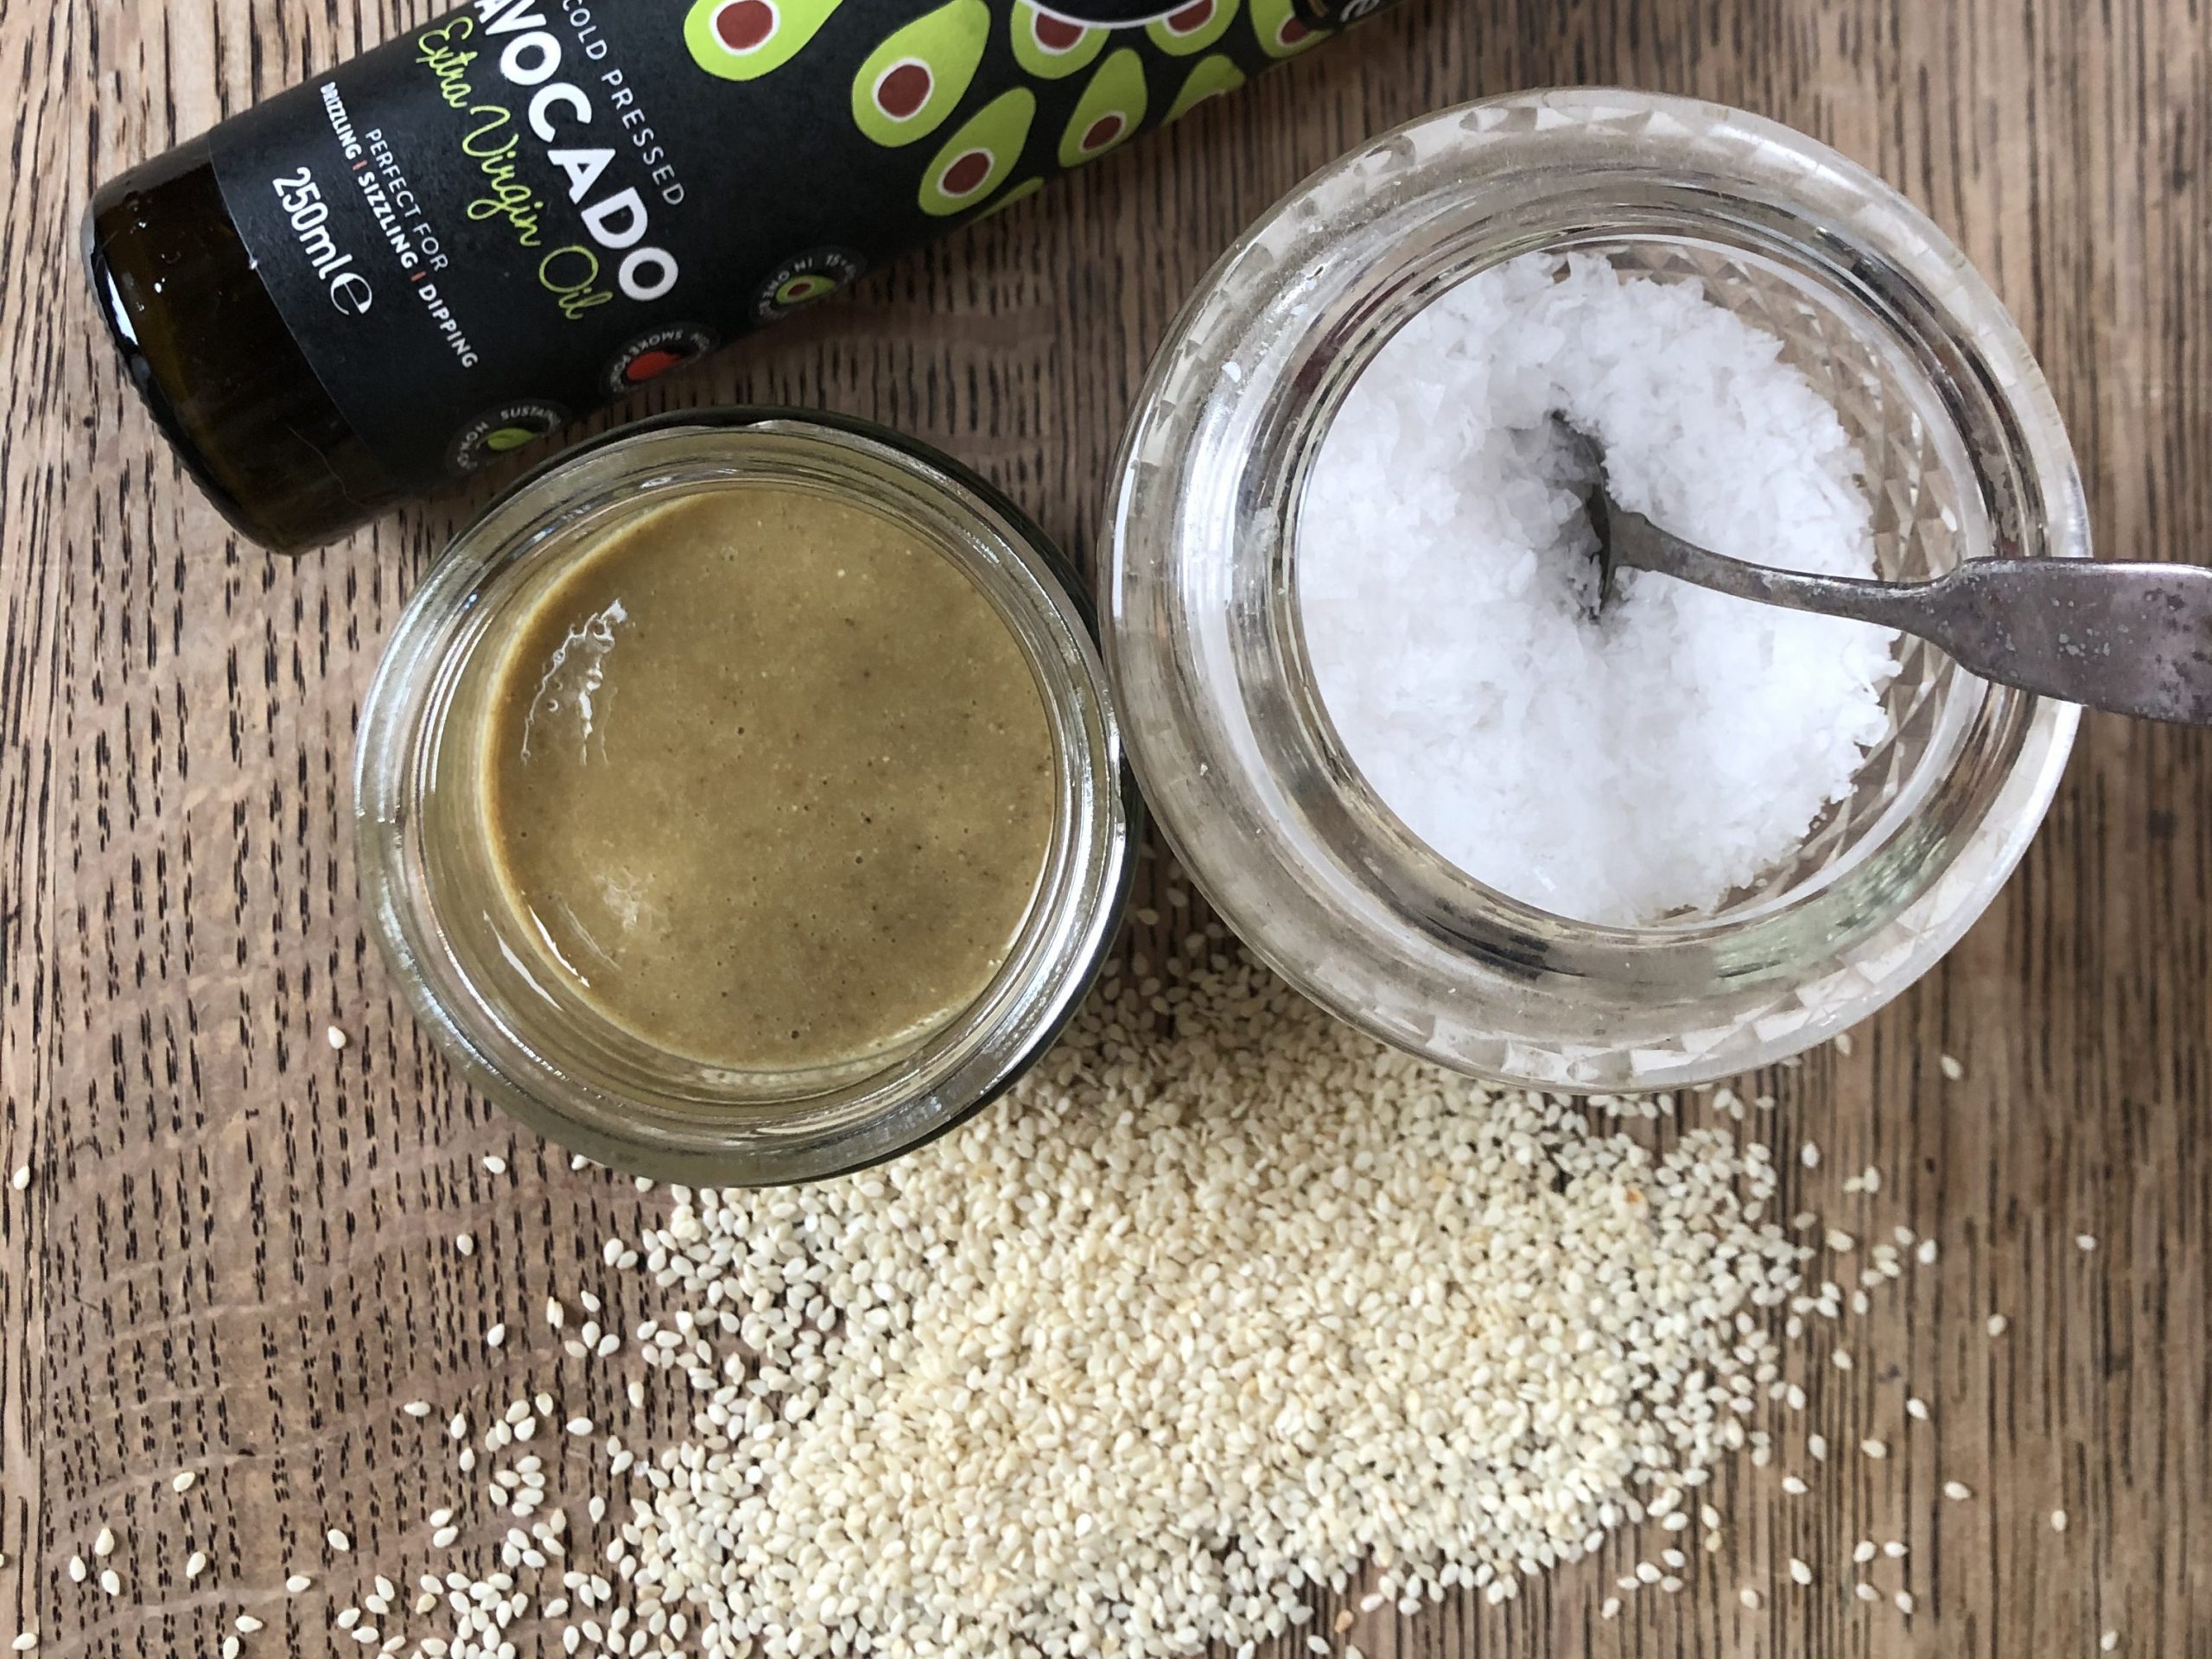
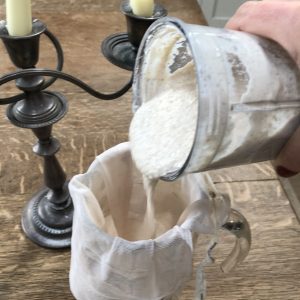
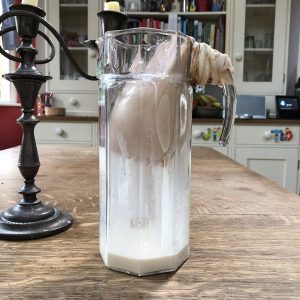
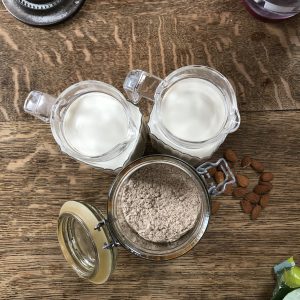
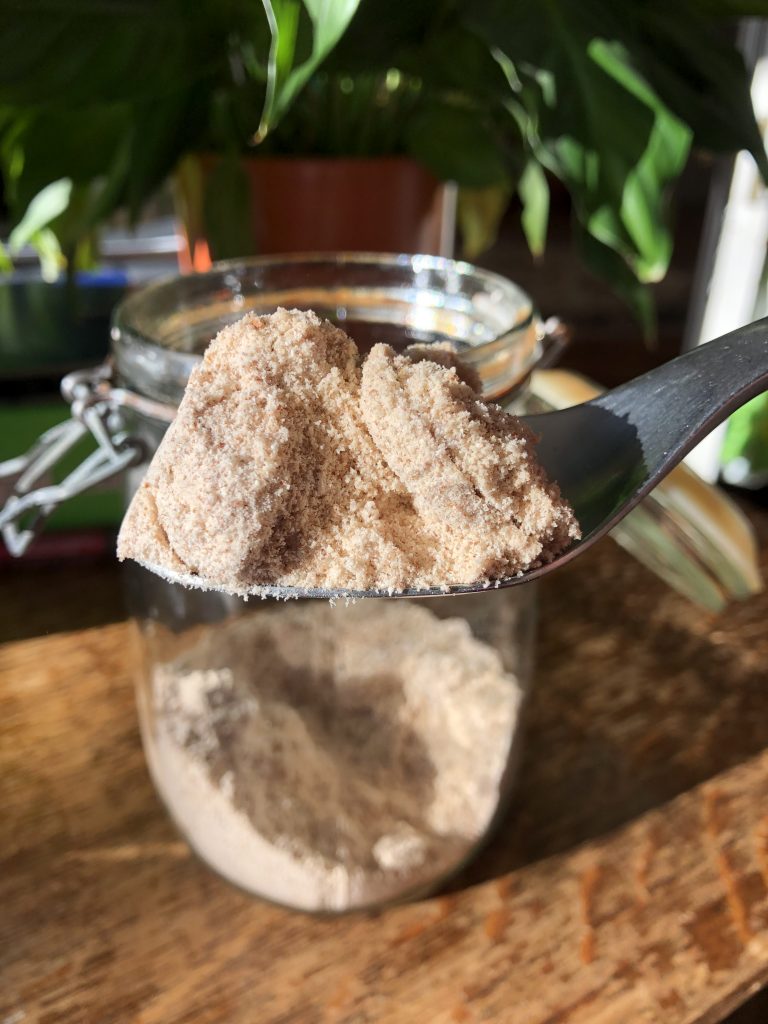
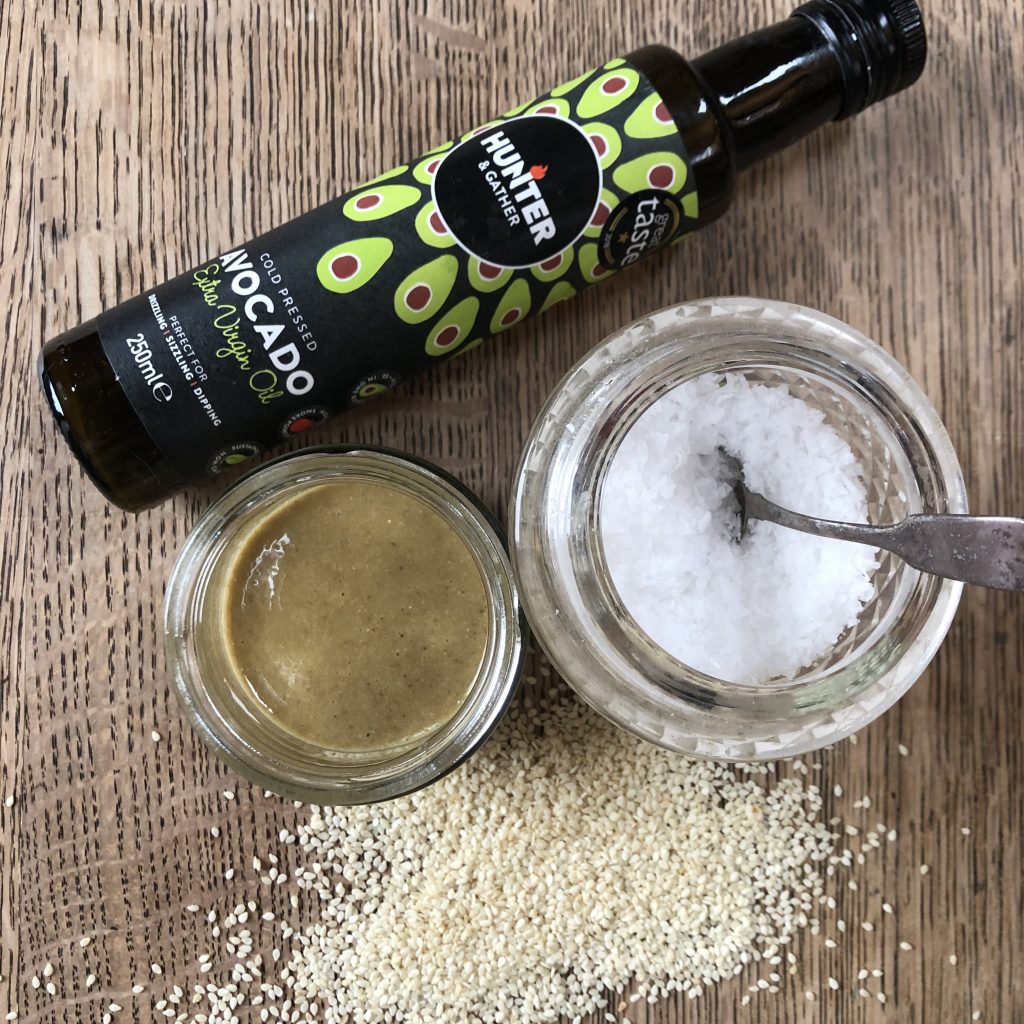 If you’re thinking life’s too short to make my own tahini, I hear you. I too am very happy to use well made store bought items in everyday recipes. However, I love lots of food that benefits from tahini (humous, chocolate chip cookies and tahini dressing just to name a few…) and I really don’t like the bitterness of lots of store bought tahini. So here is a super quick and easy way to make your own which can be stored in a jar in the cupboard for a month, added to all sorts of delicious recipes and doesn’t have an overpoweringly bitter aftertaste.
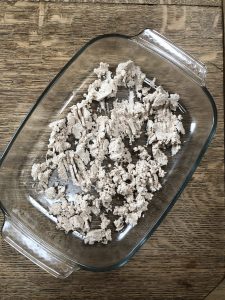
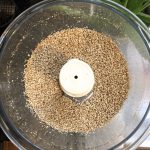 Place the toasted sesame seeds in a food processor and process on high for a good minute until you see them starting to break down.
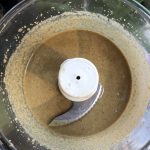 addition to various recipes, tahini is very moreish spread on fresh bread or as a dip for crudite.

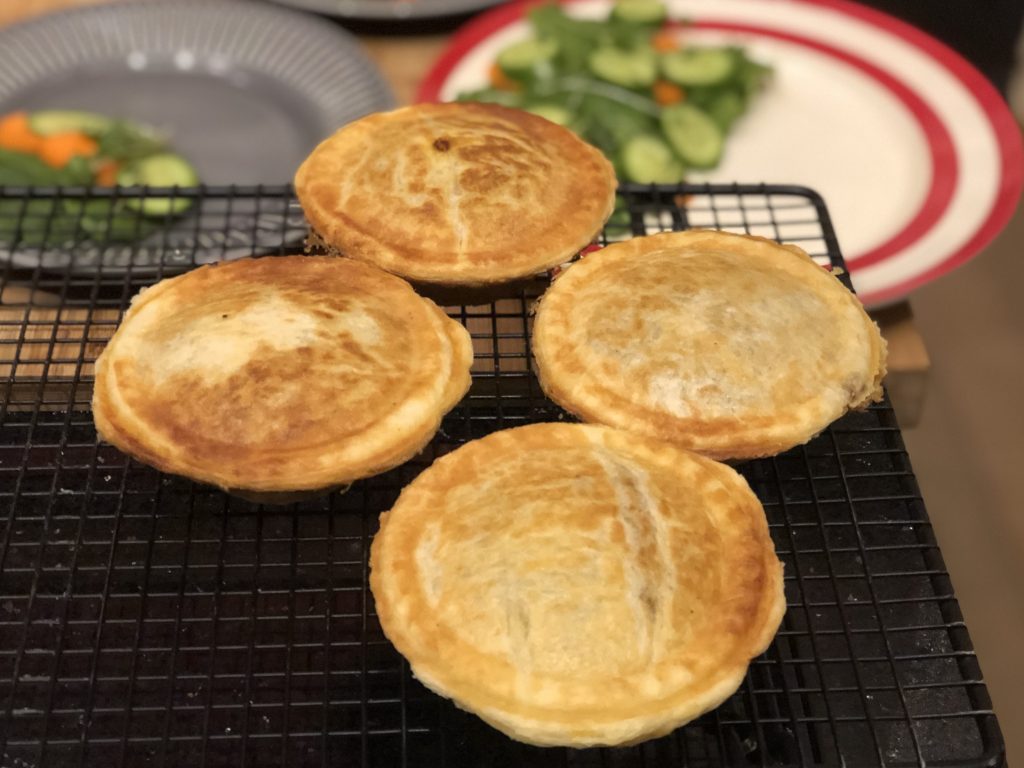 So this is an absolute basic… In my book, lentil pies are a stand alone dish, but the filling is what I use for vegan mince if I don’t want to use a ready-made product (such as Quorn) and can be varied to make bolognese, cottage pie etc
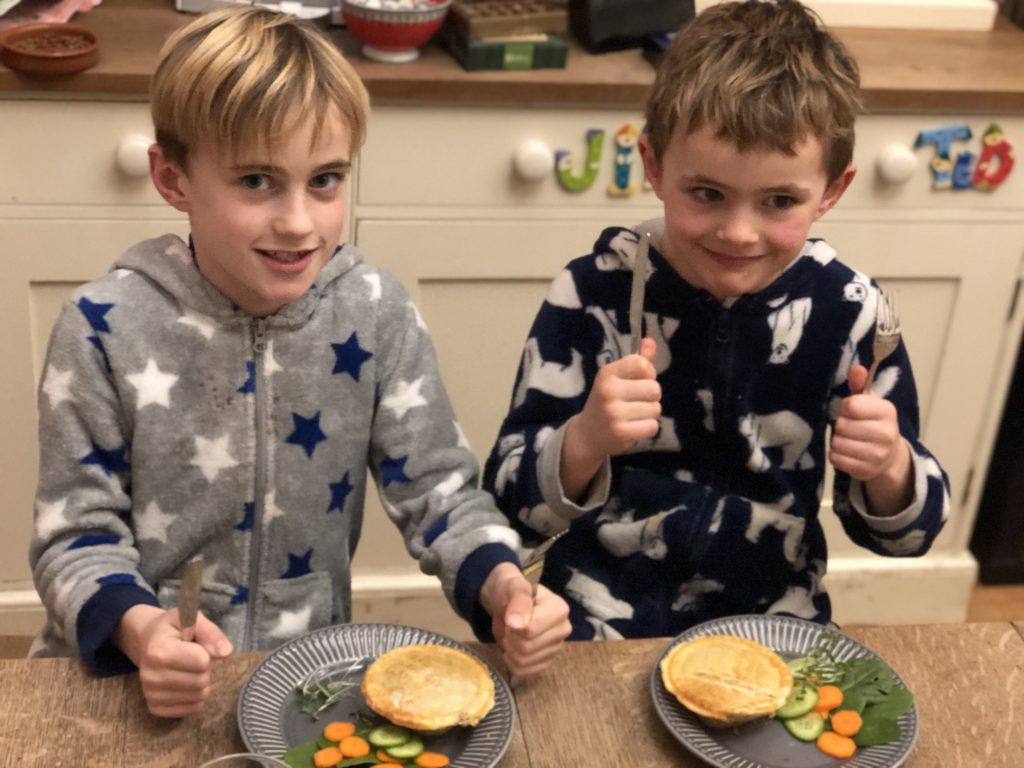

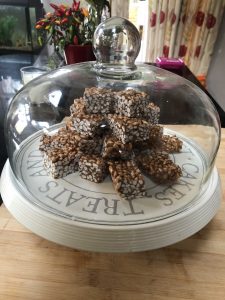 Call them rice crispie cakes or Mars Bar slices, this is a vegan version which is super easy (the children could make it themselves)… Mars Bars have been substituted with
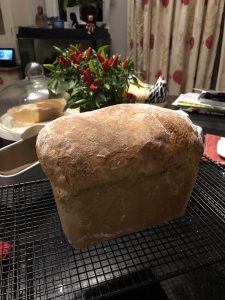
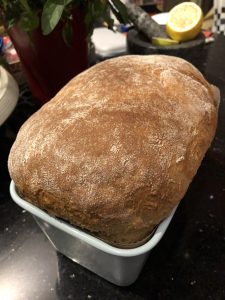 Fail-safe bread recipe
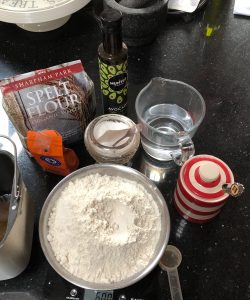 Ingredients
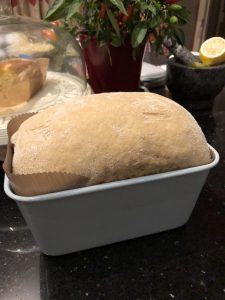


 Ingredients