Tag: raw food

  • Lemon, garlic and tahini dressing

    Lemon, garlic and tahini dressing

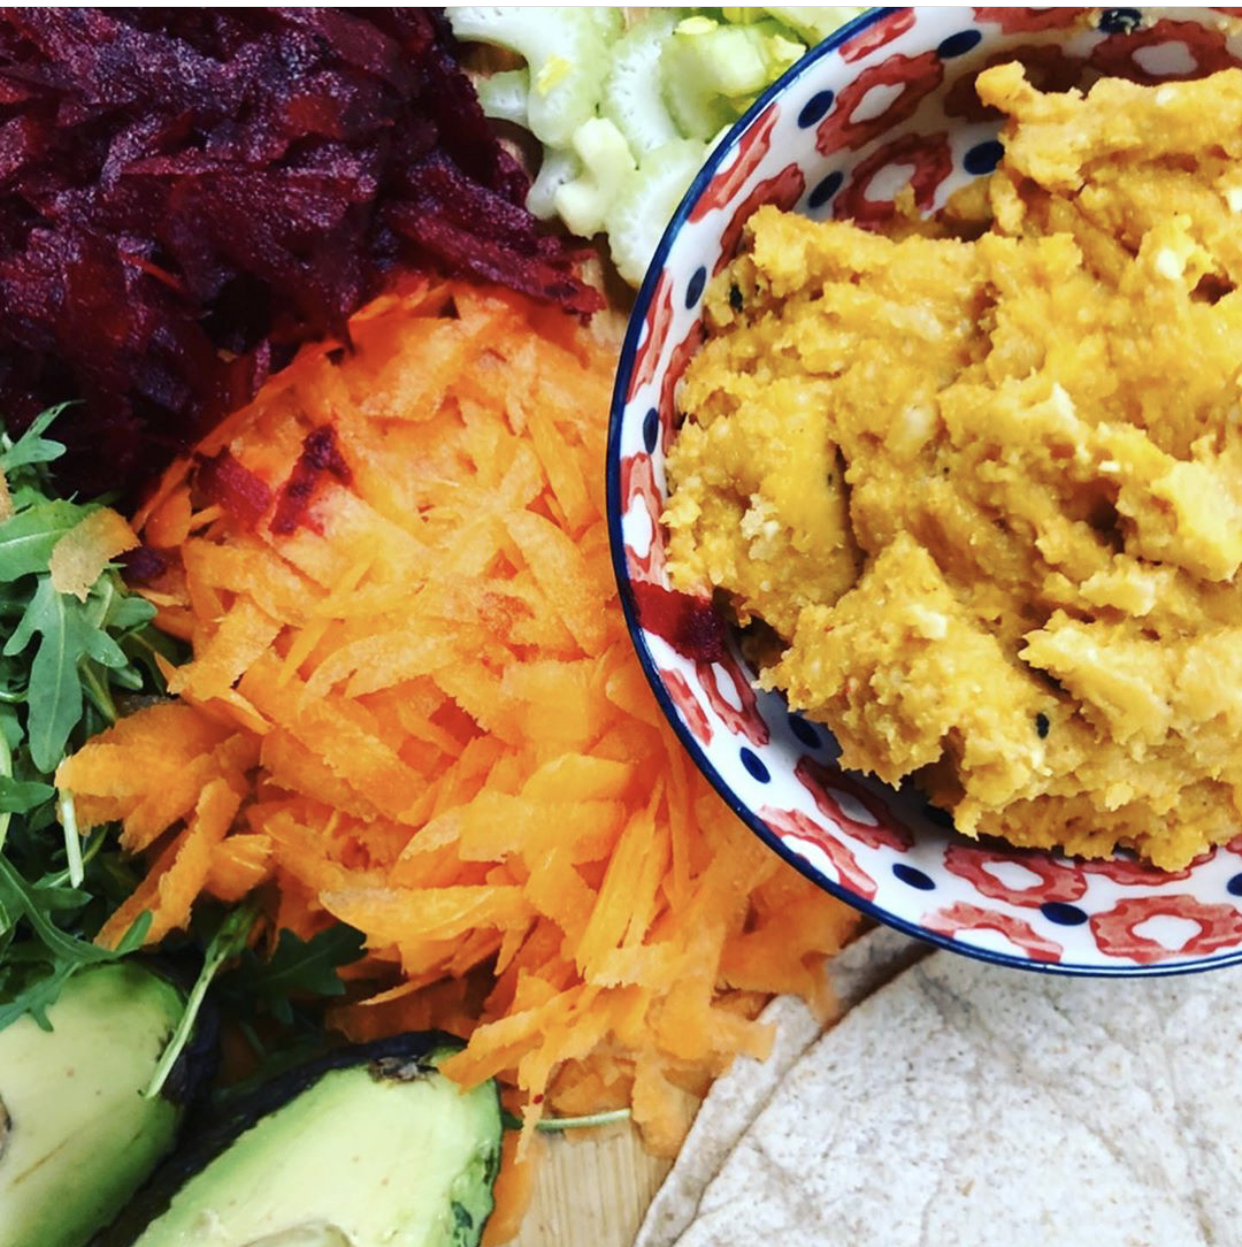
    This dressing can be poured over baked vegetables, served as a dip or tossed into a salad.

    Ingredients

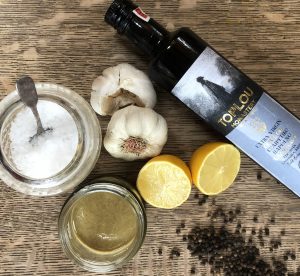
    3 tbl tahini (store bought is completely fine, but if you want to make your own it’s super easy and you can avoid the bitter aftertaste…)

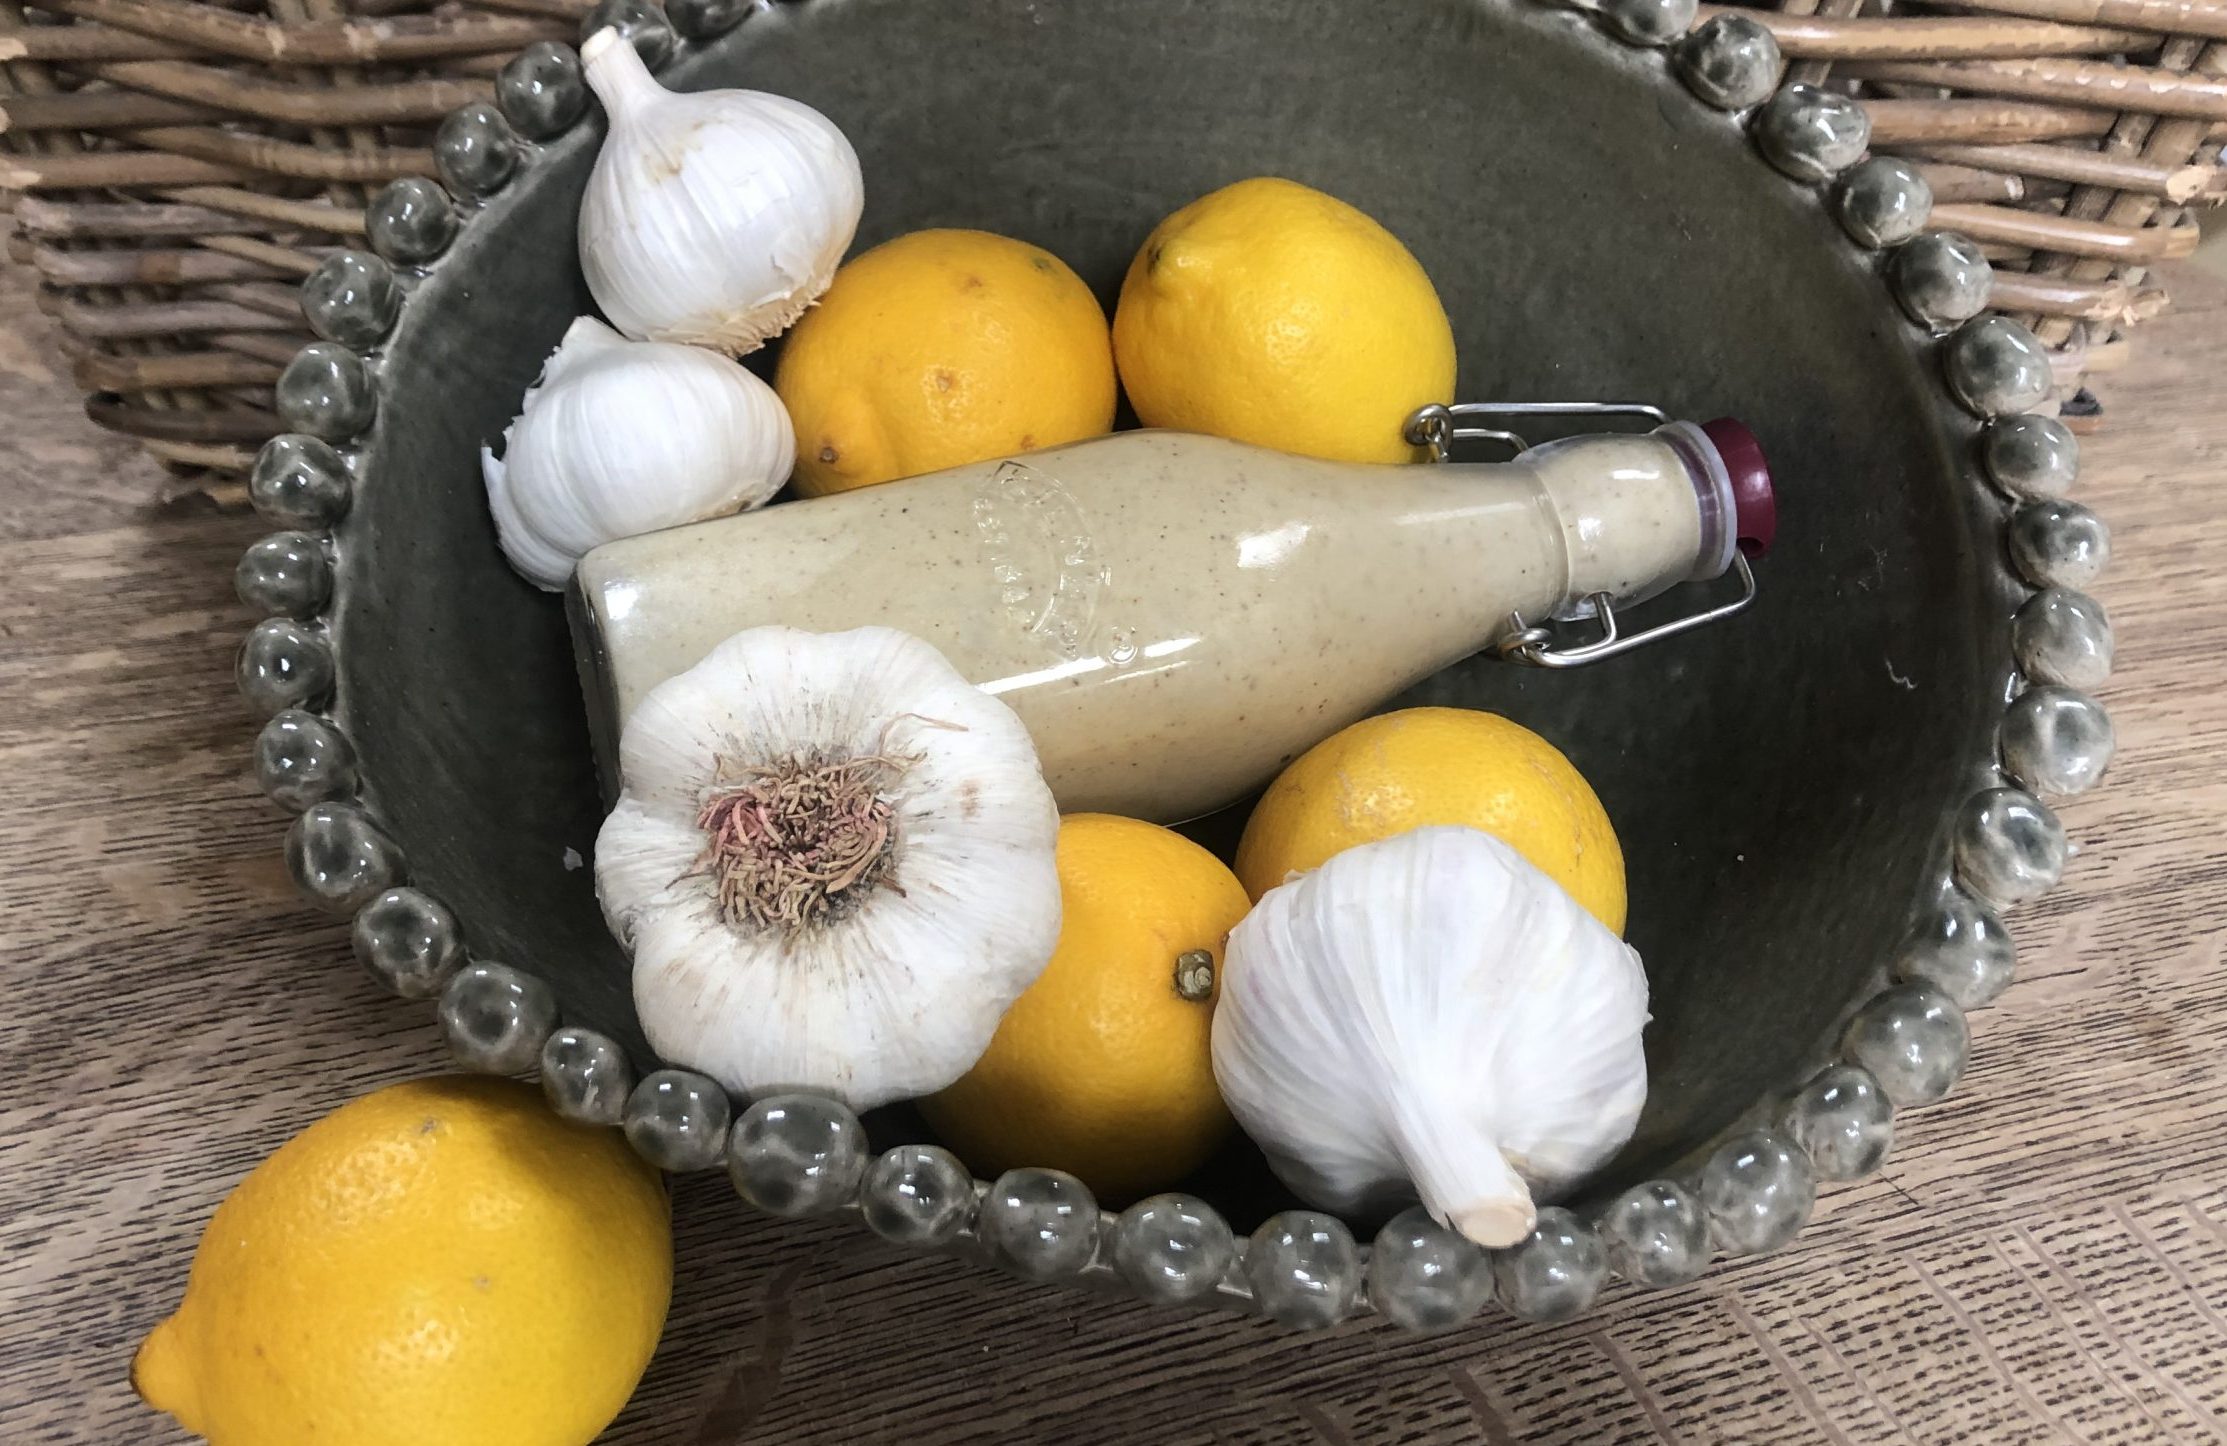
    2 peeled garlic cloves

    1/2 tsp salt

    generous grating of black pepper

    1 1/2 tbl olive oil

    1 lemon juiced

    Method

    Place all ingredients except for the lemon juice into the bowl of a food processor and bleeeeend until smooth, maybe a minute or so.

    When you’re happy with the smooth texture, pour in the lemon juice and blend for another few seconds. That’s it, you’re done!

    I first made it to go over tempeh, as a vegan version of  Madeleine Shaw’s halloumi salad, or it would be perfect over baked aubergine, kind of like a decontructed babaganoush?? Anyway, my tempeh salad is below if you’d like to give it a try, and there’s also a link to Madeleine’s original.

    [divider]

    For a super-food vegan lunch, try it in a warm tempeh salad: assemble a combination of leaves, celery, tomatoes, fennel, red pepper, spring onion, cress and whatever other lovely raw vegetables you have in the fridge drawer. Add 100g hot, grilled tempeh and pour over the dressing. It’s got to be good for you!!

    [divider]

    Madelaine Shaw makes a brilliant tahini dressing for her grilled halloumi and mango slaw with coconut tahini dressing which was how I first realised how good tahini is in a dressing. It’s not vegan but it is delicious summer fare which can be prepared hours ahead, or for a more warming winter lunch, serve it freshly made with the halloumi hot from the griddle.

    [divider]

    Nutritional Information for lemon, garlic and tahini dressing
  • Pumpkin and peanut pate

    Pumpkin and peanut pate

    (Ugh. Alliteration. Sorry…)

    It tastes good though and is the easiest thing EVER to make. Spread it in a sandwich or serve it with warm bread, crackers or crudite. It’s good and the peanuts add a hit of protein.

    Ingredients

    1 cup of roasted butternut squash/ pumpkin

    1/2 cup raw peanuts

    1 clove garlic

    1/2 tsp ground coriander

    Equipment

    Cup measure

    Food processor

    Method

    Put all the ingredients into the food processor and blitz. That’s it. If the consistency is too think you can add a little water. Decorate with fresh herbs or a sprinkle of ground coriander and some peanuts.

  • Vegan mylk

    Vegan mylk

    Making your own organic vegan mylk is so easy and so delicious! Whats more you know there’s nothing but the wholesome ingredients you put in, and no heat treatments (like used for supermarket varieties) which might reduce the goodness of your raw ingredients. Making your own mylk also provides you with a nutritious, gluten free by-product – Wholemeal Flour! – which you can then use in baking…

    Here’s how you do it:

    1 litre Organic Vegan Mylk

    Ready to blitz vegan nutmylk ingredientsIngredients

    1 cup raw, organic nuts (see Method for recommendations)

    1 organic date

    1 tsp salt flakes

    Approx 4 cups filtered water

    Equipment

    Measuring cup and teaspoon

    Jug blender able to finely blend nuts without blowing up

    1 litre glass storage jug, or two 500ml jugs

    1 large glass jug for straining into (a wide-ish mouth makes it easier to pour and strain into)

    Nut mylk straining bag – Buy an organic cotton bag from A Fine Choice, or try Rawsome Creations’ “more than a Nut Milk Bag”

    Vegan nut mylk dry ingredients
    Dry ingredients for Vegan mylk ready to be soaked overnight in the fridge

    Method

    1. Measure 1 cup of raw nuts or a combination of several kinds of nuts, seeds, grains and/or a sprinkling of desiccated coconut. Purists can go for a cup of almonds, a cup of cashews or a cup of Brazil nuts, or mix up your recipe by combining with chia, oats, rice, hemp seeds… or any combination. Just pack a cup! My personal favourite is 1/3 cup almonds, 1/3 cup cashews and 1/3 cup desiccated coconut.It’s nutty but without an overpowering almond taste and smell, creamy because of the richness of the cashews and a hint of coconut makes it a little sweet…
    2. Soak those nuts overnight. Put them in a glass container, cover with approx 1 cup of filtered water and leave them in the fridge. This activates, softens and plumps them up.
    3. In the morning, drain off the water and discard.
    4. Put the nuts into a blender with approx 1 cup of filtered water.
    5. Add the date for sweetness and the salt for balance. (You don’t have to if you don’t want to, but I think it makes a sublime taste difference…)
    6. Straining nut mylk pulp
      Pour the blended ingredients into a wide mouthed jug lined with a nut mylk strainer

      Blend until very smooth. Give it a full 30 seconds and then pause for the bits to settle, then another 30 seconds.

    7. Place nut mylk straining bag in glass jug for straining, and open it out securely over the rim.
    8. Pour blended nut mixture into bag in jug
    9. Make sure the bag isn’t sitting in the liquid as it drips through… I tie mine to the handle and leave gravity to pull it through for half an hour or so.
    10. Gently squeeze bag to ensure all the liquid is out.
    11. Sometimes – if I’m feeling impatient – I sit the straining bag between two small metal strainers and compress… though squeezing out the liquid by hand is more satisfying if you have time.
    12. Straining nut mylk into glass jar
      Allow the mylk to drop through into the jug, leaving the pulp in the straining bag

      When you are done you will have about a cup of pulverized nuts left in the straining bag. Don’t throw it away!!! – follow my recipe to make super-easy gluten free wholemeal flour here. But before you do that…

    13. Pour the strained mylk into your glass storage jug(s). There will be less than a litre as you haven’t finished adding all the water yet.
    14. Taste your mylk – it should be quite thick and creamy.
    15. Top up your jug(s) with approx 2 cups of filtered water to make 1 litre of delicious MYLK. You can add less or more water to suit your taste, but as a rough guide, I suggest a cup of nuts makes a litre of good “milky” mylk.
    16. Store your mylk in the fridge. It will separate when stored, just stir lightly with a spoon before using. Mylk can be used in hot and cold drinks, on cereal or anywhere you would normally use milk or store bought mylk. Best used within 48 hours.
    Ta dah! A litre of wonderful tasting and nutritious Vegan mylk… store in the fridge and use within 48 hours!