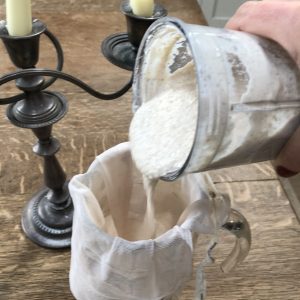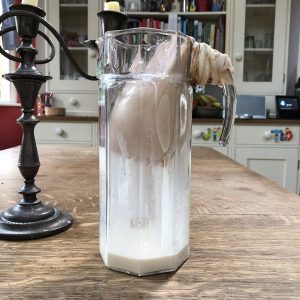
Besides making a delicious and wholesome raw baking ingredient, this is the most useful and least wasteful way to use the nutritious by-product of homemade Vegan mylk. You’re not really going to make this by itself, you’ll start by following my mylk recipe and when you get to the part that says “…you will have about a cup of pulverized nuts left in the straining bag. Don’t throw it away!!!…” just set aside the bag of pulp, finish making the mylk and then come back to this page.
Ok. Here we go…
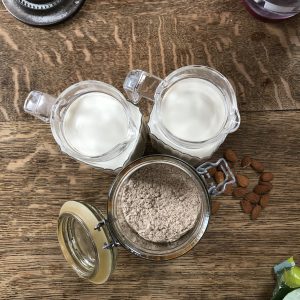
Gluten free wholemeal flour
Ingredients
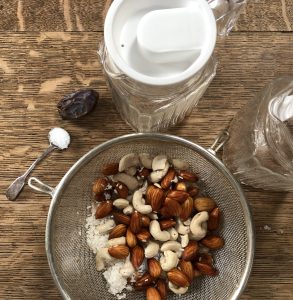
The pulp left over in the straining bag from making Vegan mylk… possibly any combination of nuts and grains such as almond, cashew, hazelnut, chia, oats, rice, hemp… it can be pure pulp, for example, if you’ve made pure almond milk, or any mixture you have used to make your mylk. If you’ve followed my recipe religiously there will be a trace of date and salt in there too…
That’s it.
Equipment
Wide, flat baking dish
Food processor
Method
- Empty out the contents of the nut mylk straining bag you have used to make mylk.
-
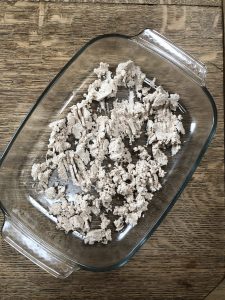
Spread the mylk by-product, pulp, in a ceramic baking dish. It’s ready to blitz when it’s dry and crumbly… You should have roughly a cup and a half of pulp, the equivalent of a fist-sized ball (this is the cup of nuts and seeds used in the mylk recipe which is slightly expanded due to soaking.)
- Break up the pulp and spread as thinly as possible across the baking dish.
- I am lucky enough to have an AGA oven in my kitchen, the top of which is the perfect place to dehydrate food. If you are using an AGA, just sit the uncovered dish of pulp on top of a closed hot plate and leave it to dry out over night. **I have to say, I adore my AGA rangecooker… but my Falcon American -style fridge/freezer – which is also an AGA Rangemaster product – has been nothing short of an disappointing and expensive disaster (rusted/peeling front door, malfunctioning ice machine, 21°C in the fridge (I put things in there to warm up!), failed water filter and a “frost free” freezer like a dripping ice rink) … a disaster which despite only being 5 years old at the time of publishing, AGA Rangemaster could not care less about. I digress…
- If you don’t have an AGA, just preheat your oven to its minimum temperature and place the uncovered dish of pulp on the bottom of the oven for 2-3 hours.
- The pulp is finished dehydrating when it is hard and crunchy to touch, and crumbles between your fingers.
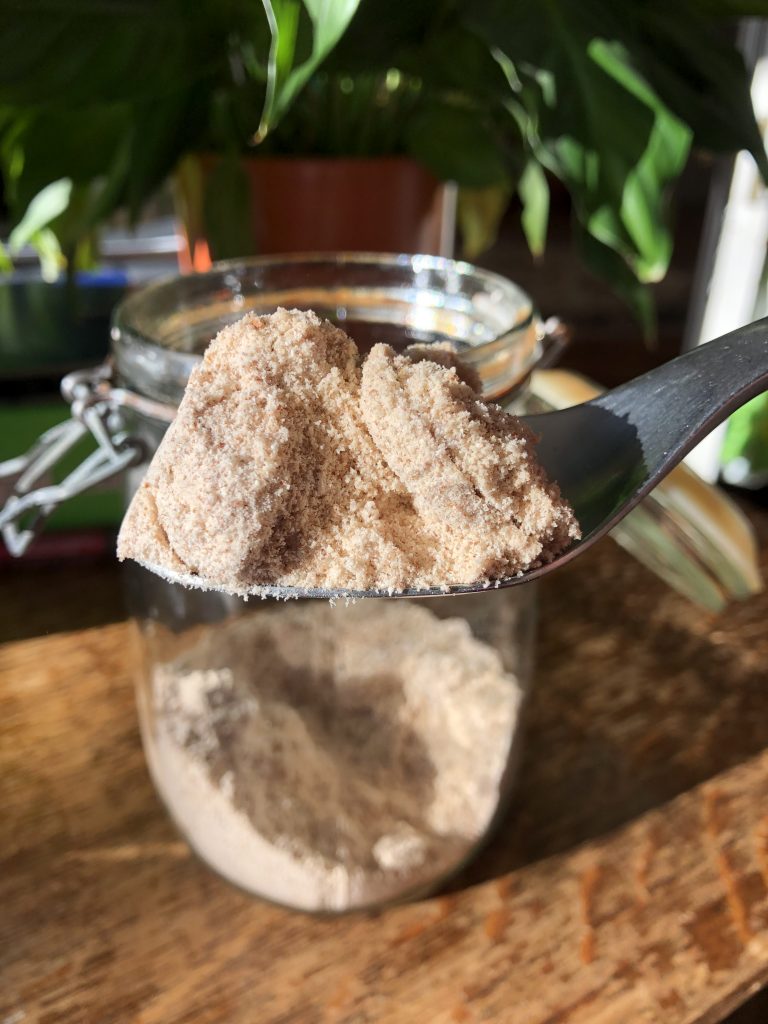
- Place the dried pulp into a food processor and blitz until a fine meal is formed. The longer you blitz, the finer the meal. I like to give it several bouts, lightly shaking in between to make sure any lumps come to the surface. When you no longer see lumps upon shaking, it’s done.
- Store your gluten free wholemeal flour in an airtight jug.
- Use for baking – it’s particularly good used alone in fruit crumbles, shortbread biscuits or heavier cakes such as banana or carrot cake. I also use 100g blended with 500g of strong bread flour (rye, spelt etc) to make a dense, moist loaf of bread.
[author image=”https://strippedbarefashion.com/wp-content/uploads/2018/04/Kate-Harcourt.png” ]Kate Harcourt is the Editor of Stripped bare fashion. She is also a freelance journalist specialising in ethical fashion, women’s issues and interiors. Her opinion pieces have been featured in local and international press and a small collection now appear in Don’t bother asking. As the single mother of six children, with a passion for healthy vegan and vegetarian food, she inevitably ends up spending a lot of time in the kitchen! Some of her simple, wholesome recipes are here: Stripped bare food. Kate loves to hear from potential collaborators or brands keen to promote their ethical products and services. Media information is here, or contact Kate via email: kate@strippedbarefashion.com[/author]

 Ingredients