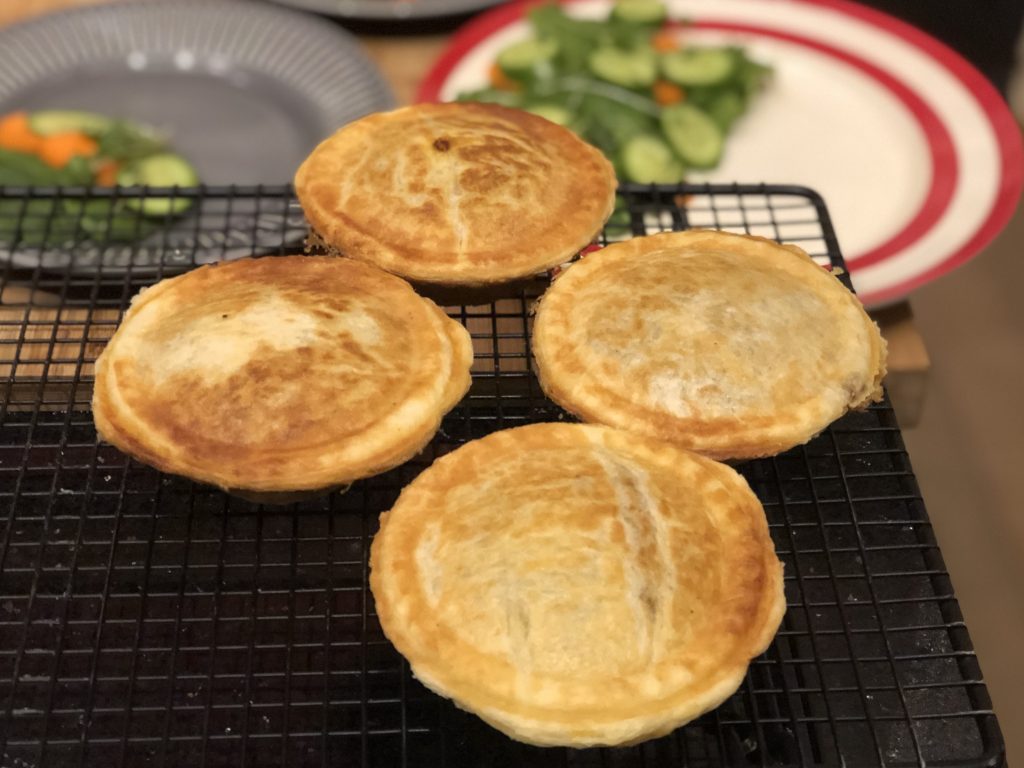
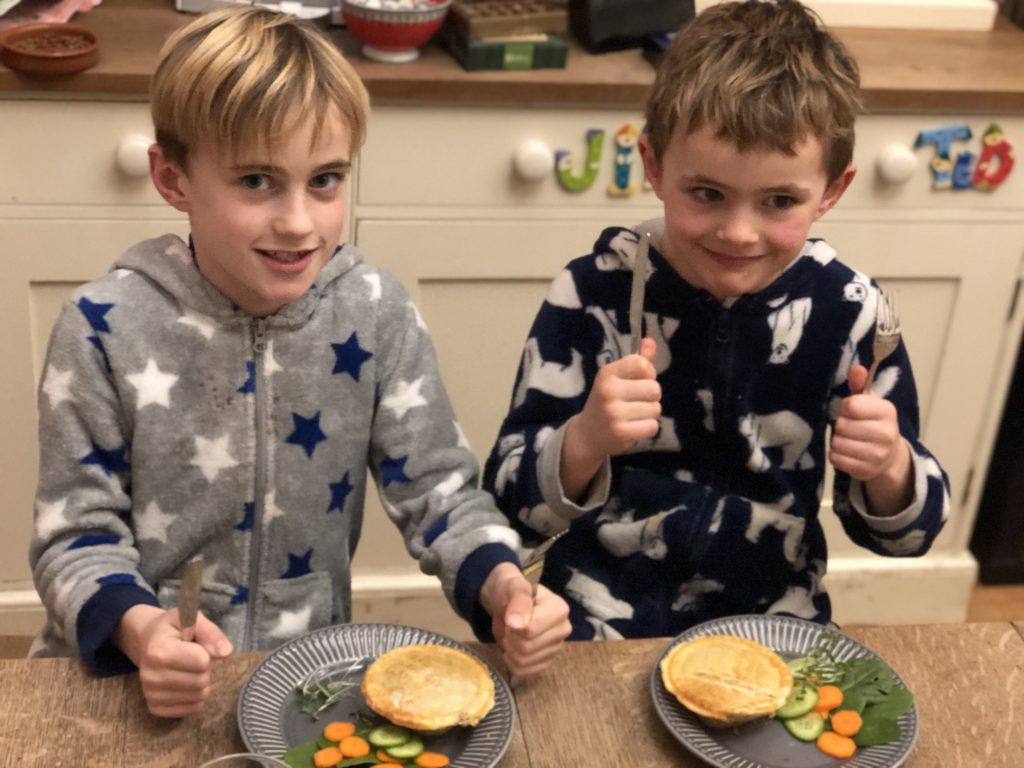
Makes 4 x 12cm pies, or six x 10cm pies… or one big one if you prefer!
A few friends have asked me recently for recipe ideas… this is a very unusual occurrence, and obviously based on being vegan/ vegetarian more than my famous culinary skills!
 So this is an absolute basic… In my book, lentil pies are a stand alone dish, but the filling is what I use for vegan mince if I don’t want to use a ready-made product (such as Quorn) and can be varied to make bolognese, cottage pie etc
Ingredients
1 tbl coconut oil
2 shallots peeled and finely chopped
1 garlic cloves peeled and finely chopped
A sprig of rosemary
A couple of sprigs of thyme
125g dried puy lentils, rinsed thoroughly
125ml passata
2tbl tomato paste
400ml stock (Marigold Vegan is good)
1 tsp liquid smoke or 1 tbl smoked paprika
1 sheet puff pasty
1 tbl egg replacer (you can use nut milk if you prefer but I find the egg replacer gives the crust a more golden colour!)
Method
Warm the oil and add the shallots and garlic
Soften on a low heat for 8-10 minutes until lightly golden
Add the rinsed lentils to the pan and stir though onions and garlic
Stir in passata, tomato paste and stock
Add rosemary and thyme and liquid smoke or smoked paprika
Leave simmering on a low heat, checking and stirring from time to time
If the mixture gets too think or dry, add a little extra water
When finished you want it to be moist without being runny and firm but not dry
The cooking instructions on my puy lentils always seem to underestimate cooking time… I would leave the pan simmering for a good 45 minutes, but I do prefer the lentils to be very soft (and I get complaints about them having “bones” if they’re crunchy…)
While the lentils are simmering, cut the top and bottom pastry rounds and fit the base into an oiled pie tin
When the lentils have cooked, spoon them into the prepared pie tin… don’t underfill or you’ll have stingy pies and the top will sag. The mixture won’t expland during cooking except for heat, so fill close to the top
Brush the edges with egg replacer and fit the lids on top, carefully pressing down to ensure the edges seal
Brush the top of each pie with more egg replacer
Bake in a 180°C for 20 minutes – slightly less for smaller pies, and up to 40 minutes for one large pie
One more idea: If I’m making these pies I usually make double quantity of the lentils, use half for little pies and put the other half in a ceramic baking dish that can go in the freezer…. a week or so later, I whip out the frozen lentils and top with mashed potato for super quick cottage pie.

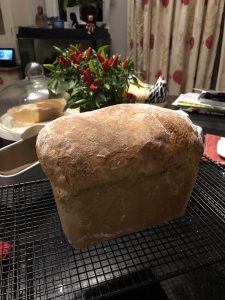
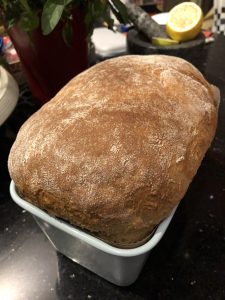 Fail-safe bread recipe
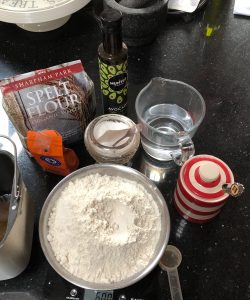 Ingredients
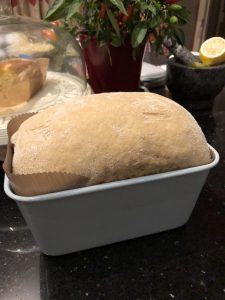

 Ingredients