 I feel like I need to start with a disclaimer: I am not vegan. I am however a lifelong vegetarian and the mother of six children, all of whom started life omnivorous and all of whom have chosen at one point or another to be vegetarian. One made the decision after coming face to face with a hogroast, one after watching the original Blue Planet, one after deciding it was hypocritical to call herself an animal lover and another after discovering that people eat dogs in some parts of the world and pondering the difference between a dog and a cow/pig/sheep etc. I am not trying to validate any of these opinions, just saying us humans often have different reasons for coming to the same conclusion… and of course many of us come to completely different conclusions too.
Personally, I chose not to eat meat as a baby – neither being abstemious nor righteous – I guess I just didn’t like it much. And although that’s probably the least virtuous reason anyone decides to be vegetarian, it’s the truth. Over the years I have happily found myself in agreement with other people’s principles though: I despise animal cruelty and value environmental responsibility. Being vegetarian is pretty easy for me. I can honestly say I have never tried, nor been tempted to try bacon. I have tried some other meats including chicken, fish and cheeseburgers (?!) usually in an attempt to please other people or minimise attention to my weird eating habits.
Funnily enough, the whole meat-free thing seems to be becoming distinctly unweird, so much so that us Old School Veggies are often even less catered to than before. Identify yourself as vegetarian on a flight and you will get a vegan meal. This translates to margarine instead of butter (I love butter) and grapes instead of cheesecake (who doesn’t love cheesecake?) So even WE are swearing about all the vegans!! Well, at times anyway…
Most recently one of my daughters has decided to go vegan and it has thrown quite a spanner in the supper works. It’s a whole new level of detail. I support her decision though and am happy to help her take this journey… so much so that I thought I’d give it a whirl too. It’s not the first time I’ve “gone vegan” but this time has been more successful, possibly because I’m not the only one who wants to do it. The small boys are largely oblivious to eating vegan: if they’re hungry (and the food doesn’t look too “bitty”/”herbal”/”spicy”/”disgusting”) they eat.
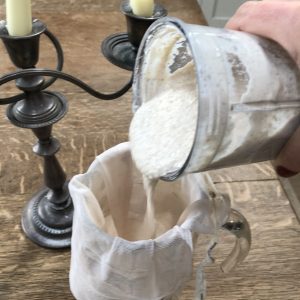
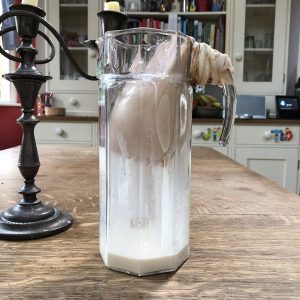
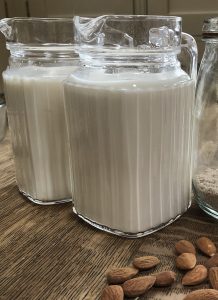
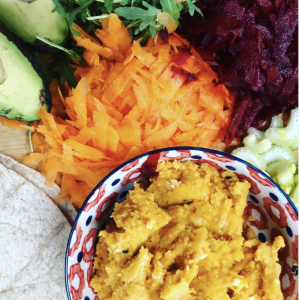
As it’s Veganuary (a name almost as grating as Brexit, but hey, you know what I’m talking about!) I thought I’d share some of my successes. You can find my offerings in Stripped Bare Food. I’m not a great cook by any stretch of the imagination… I just do simple, nutritious meals for lots of people.
Do drop me a line and a photo if you have a vegan recipe that’s good. I’d love to try it at home and share it with anyone else who’s interested. Oh, and don’t forget your vitamin B12!

 Ingredients
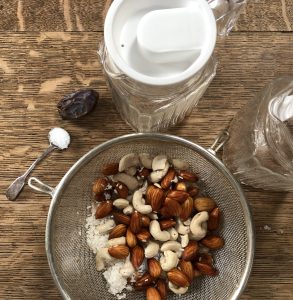